
How to Store Your Belongings Safely During Home Renovations
Renovating your home is exciting. You’re upgrading your space, improving your home’s value, and creating something that finally feels like you. But renovations also bring dust, debris, vibrations, shifting furniture, and a whole lot of chaos. If you don’t store your belongings properly before construction begins, it’s easy for things to get scratched, dented, broken, or coated in dust that never fully comes out.
Protecting your belongings during a remodel is just as important as the project itself. Whether you’re updating a kitchen, tearing out carpet, replacing windows, or doing a full interior overhaul, the right storage strategy helps keep everything safe, clean, and organized.
Below is a complete guide to protecting your possessions during a home renovation, with expert-backed tips and practical storage solutions. These methods work whether you’re doing a quick refresh or a months-long remodel.
1. Start With a Full Home Inventory Before You Move Anything
Before construction starts, walk through the renovation area and make a detailed list of everything that needs to be removed or protected. An inventory helps you stay organized and ensures nothing disappears during the process.
Create a simple inventory including:
-
Furniture
-
Electronics
-
Artwork
-
Wall décor
-
Rugs
-
Small appliances
-
Fragile items
-
Important documents
Take photos for documentation. If something gets damaged or lost, having a before-and-after record is extremely valuable.
2. Declutter First — Renovations Are the Perfect Time
Renovation projects stir up everything anyway, so you might as well get rid of items you no longer need. Reducing clutter means fewer items to store, fewer things at risk, and a faster remodel.
Ask yourself:
-
Do I still use this?
-
Would I buy it again?
-
Does it belong in my renovated space?
-
Is it worth storing?
Donate, sell, or discard items that don’t make the cut.

3. Clean Items Before Storing Them
Dust and grime sealed inside storage boxes only make things worse later. Taking time to clean items beforehand helps protect them from being permanently affected by dust or humidity during the renovation.
Clean items like:
-
Lamps
-
Small appliances
-
Electronics
-
Shelving
-
Artwork frames
-
Throw blankets and pillows
This prevents trapped dirt, mold growth, and lingering construction dust.
4. Pack Room-by-Room for Simpler Unpacking
Packing by room helps you stay organized and makes unpacking dramatically easier when the renovation is done.
Use clear labels that include:
-
Room name
-
Item category
-
“FRAGILE” when necessary
If you’re doing a kitchen renovation, for example, pack dry goods separately from appliances and cookware. The more specific your categories, the less stressful the move-back-in process will be.
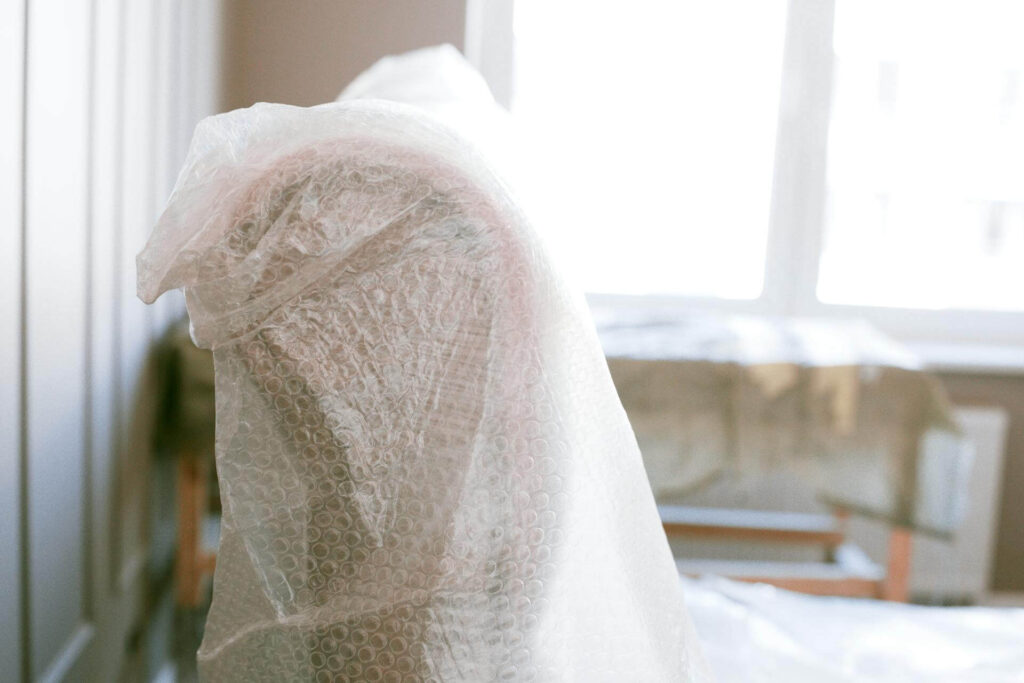
5. Protect Belongings From Dust: Your #1 Enemy During Remodeling
Construction dust gets everywhere. It’s fine, lightweight, and easily airborne. It sneaks into cracks, fabrics, electronics, and even sealed boxes.
Dust Protection Techniques:
Use plastic sheeting.
Cover furniture, beds, large appliances, and shelving with thick plastic to keep dust from embedding.
Wrap upholstery in breathable covers.
Avoid sealing fabric furniture in plastic for long-term storage; it traps moisture. Use furniture blankets or fabric covers instead.
Store electronics in sealed containers.
Dust can ruin internal components. Pack laptops, TVs, speakers, and gaming consoles in airtight containers with silica gel packs.
Seal boxes tightly.
Use packing tape on all seams. Dust finds any opening.
6. Use the Right Packing Supplies (Not Just Cardboard)
Good materials matter. Renovations can last weeks or months, so your belongings need long-term protection.
Best Packing Materials:
-
Double-wall boxes for heavy or fragile items
-
Bubble wrap for breakables
-
Packing paper for dishes and glass
-
Furniture blankets for large pieces
-
Foam sheets for surface protection
-
Sealed plastic bins for dust-sensitive items
Avoid cheap boxes—they collapse, tear, and allow dust and moisture inside.
7. Move Items Out of the Renovation Zone Completely
Keeping furniture and belongings in the room while workers are trying to maneuver around them is a recipe for disaster. Even “covered and pushed to the corner” is not safe enough.
If possible:
Move everything out of the renovation area entirely.
Clear spaces:
-
Spare bedroom
-
Finished basement
-
Garage (only if low humidity and dust-free)
-
Climate-controlled storage
-
Mobile Attic Portable Storage container on your driveway
Getting items out of the way gives contractors the space they need and dramatically reduces damage risk.

8. Consider Using Portable Storage for Larger Renovations
For major renovations, the most efficient way to protect belongings is to remove them from the home completely. Portable storage containers are one of the best ways to do that.
Why homeowners choose Mobile Attic Portable Storage:
-
Ground-level loading is easy and safe
-
Containers are weather-resistant
-
You can store the unit on-site or at a secure facility
-
Pack at your own pace
-
Keeps belongings accessible but out of harm’s way
Instead of shoving everything into your garage or cluttering your living room, you can safely store furniture, boxes, and appliances in a designated container.
9. Don’t Forget About Vibration and Impact Protection
Renovations mean:
-
Hammering
-
Sawing
-
Drilling
-
Floor shaking
-
Wall vibrations
These vibrations can cause items on shelves, mantels, and cabinets to shift or fall.
Protect fragile items by:
-
Removing artwork from walls
-
Storing glassware in padded containers
-
Laying picture frames flat in boxes
-
Keeping shelves completely empty
-
Using bubble wrap or foam for delicate décor
If it shakes, pack it.

10. Keep Important Items Separate and Accessible
Some belongings should never be packed deeply or put in long-term storage during a renovation.
Keep these in an accessible, secure area:
-
Medications
-
Checkbooks
-
Passports
-
Legal documents
-
House keys
-
Chargers
-
Daily toiletries
-
Pet supplies
Use a dedicated “essentials box” so you’re never searching through storage.
11. Store Items in Climate-Controlled Conditions When Needed
Some belongings cannot handle humidity, heat, or cold.
Climate control is recommended for:
-
Electronics
-
Photographs
-
Musical instruments
-
Artwork
-
Leather goods
-
Wood furniture
-
Important documents
If you don’t have a controlled area in your home, portable storage companies like Mobile Attic can keep your unit at a facility with ideal conditions.
12. Use High-Authority Resources for Renovation Planning
If you’re unsure how to prepare for a specific type of renovation—kitchen demo, flooring replacement, wall removal—check reliable home improvement guides. For example, HGTV’s home renovation resource center provides useful step-by-step planning insights:
https://www.hgtv.com/remodel
These guides help you anticipate how much disruption will occur and how much storage protection you’ll need.
13. When Renovations Are Complete: Clean Before You Bring Items Back
This step is often overlooked. Even after contractors finish, dust lingers.
Before moving items back:
-
Vacuum the entire area
-
Wipe surfaces with microfiber cloths
-
Use a HEPA filter to clear lingering dust
-
Clean vents
-
Steam mop floors
-
Air out the room
This keeps your freshly stored belongings clean when they return home.
Final Thoughts
Home renovations are exciting, but they come with the risk of damaging your belongings if you’re not prepared. By taking the time to inventory, clean, pack carefully, and use secure storage—including Mobile Attic Portable Storage containers for larger projects—you can protect your items from dust, moisture, vibration, and accidental damage.
With the right planning and storage strategy, your renovation will go more smoothly, and your belongings will stay safe, clean, and ready for your upgraded home.
Recent Comments